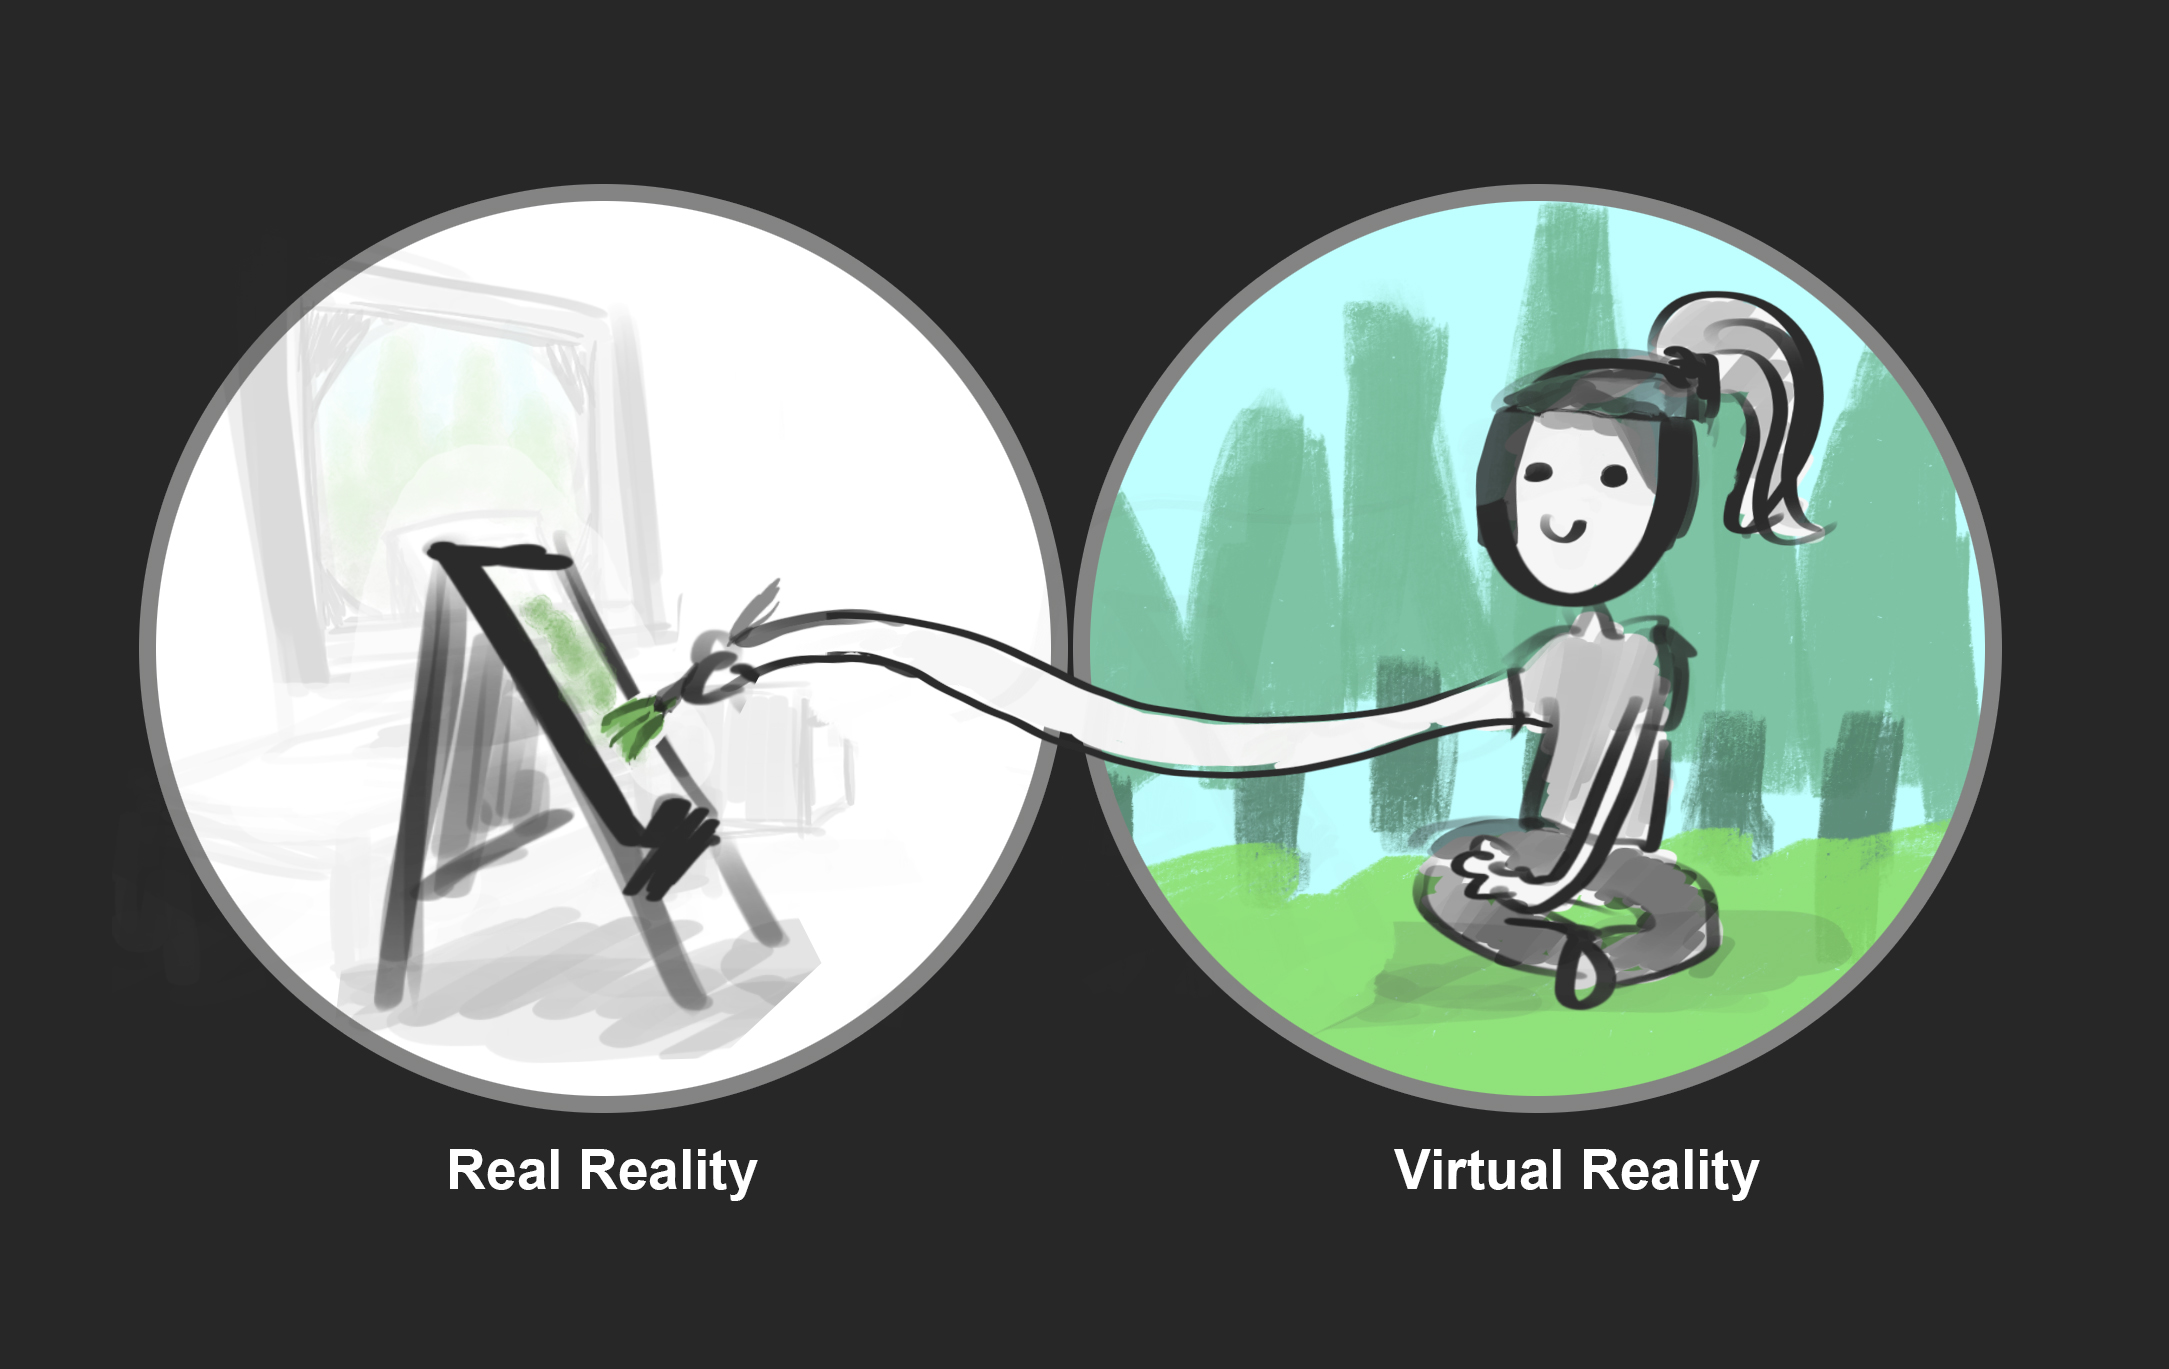
Liz Edwards has been plein air painting in Fallout VR! It's so inspiring to see her — well — kill off a bunch of enemies in order to just sit quietly and paint in peace. I was super excited to see her take VR art to this next level! I coordinated some time to meet with her in VR (one where I wouldn't immediately die on the spot lol) so we could have a paint session together.
We met in a multi-player VR gallery and settled into one of Danny Bittman's paintings. I chose a view where I sat in Danny's painting while looking out into the VR gallery space.
Instead of digitally painting with Photoshop, I wanted to try traditional painting while in VR.
Materials needed:
VR Headset (I used HTC Vive)
VR-ready desktop computer
Steam & SteamVR
A VR environment or place to go to. BONUS if you go to a place with multi-player, then you can plein air with friends!
Your medium / weapon of choice. Mine was traditional watercolors, which included:
water cup
Schmincke watercolor paints
Pencil for sketching
Brush
Pen for any additional inking
The Setup:
This is a really odd thing. I'll try my best to describe it lol
You will look really cool...
Get all your VR stuff running
Load up the environment you'd like to sit in.
Take off your VR headset.
Launch OVRdrop
Set the OVRdrop setting to display your Vive camera
Set up your physical painting space with paints, paper, water in front of you. In the event of your water spilling (loool), make sure it doesn't knock onto any electrical stuff!!
Put back on your headset.
Adjust your OVRdrop window so it's a 'window' positioned where your paints are.
Notice how your hand-eye coordination will be a little bit off.
Attempt to paint.
Question why you are even doing this. Like, really. Why.
Contemplate the state of humanity while you are in a machine.
Continue and finish painting without destroying your eye balls.
Things I learned from watercoloring while in VR:
It’s HELLA weird to notice when your hand-eye coordination is off. In this case, it was my EYES (the Vive camera) placement that was off! It’s really uncanny.
It’s also a very strange feeling to be painting with my hands as seen through a monitor. It felt like this:
Cross-dimensional arm magic! ✨
The saturation + vividness of the Vive camera was really off. There would have been very little chance of getting the exact colors right.
It’s REALLY a strange idea that things were CLEARER and CRISPER in the VR space than IRL. SEEING the real life thru a blurred filter was really odd. My eyes were definitely happier to ‘rest’ in the VR space than staring thru the pixelated display of IRL.
This would be a VERY interesting exercise in getting rough design ideas down. It would be challenging (and probably HORRIBLE for your eyes) to try to do a lot of detailing. This would be a great exercise in value-grouping, learning how to paint loose to get the idea down.
How might this be used?
Well, Liz Edwards has been going into Fallout 4 and plein air painting with OVRdrop>Photoshop. I think she may have painted in Google Earth as well. (The OVRdrop window would be wayyy clearer with Photoshop, rather than showing the out-facing Vive camera like I used.)
Using Photoshop, artists could hop onto into Google Earth VR, sit at the top of the Eiffel Tower, and get a pretty realistic understanding of the perspective from up there. Or maybe sit on the Seine River, looking up at Notre Dame.
With “VR+Traditional Plein Air Painting” (I mean, what do I even call this? Trans-dimensional painting? Multi-reality painting??!), perhaps when the camera and resolution get better (Vive Pro?) it’ll lend itself to some more interesting paintings. There is still the absence of real LIGHT as it affects color and shadows as in nature. But perhaps this and the Photoshop method can lend itself to blocking in roughs. At the very least, it allows the artist to *feel* the environment, mass, form, and depth in a 3D space.
My First "Multi-reality"(??) painting!
I'll likely try a few more experiments! Here's my first VR plein air watercolor piece, and the full video of me and Liz discussing the weirdness of all this in the full youtube vid:
Pretty strange, huh?
Thanks to Colin Northway and the MOR team; to Danny Bittman for letting us plein air in your piece!; to Anand Duncan for letting us plein air in your absolutely gorgeous VR dresses!; and Liz Edwards for being a splendid paint buddy!
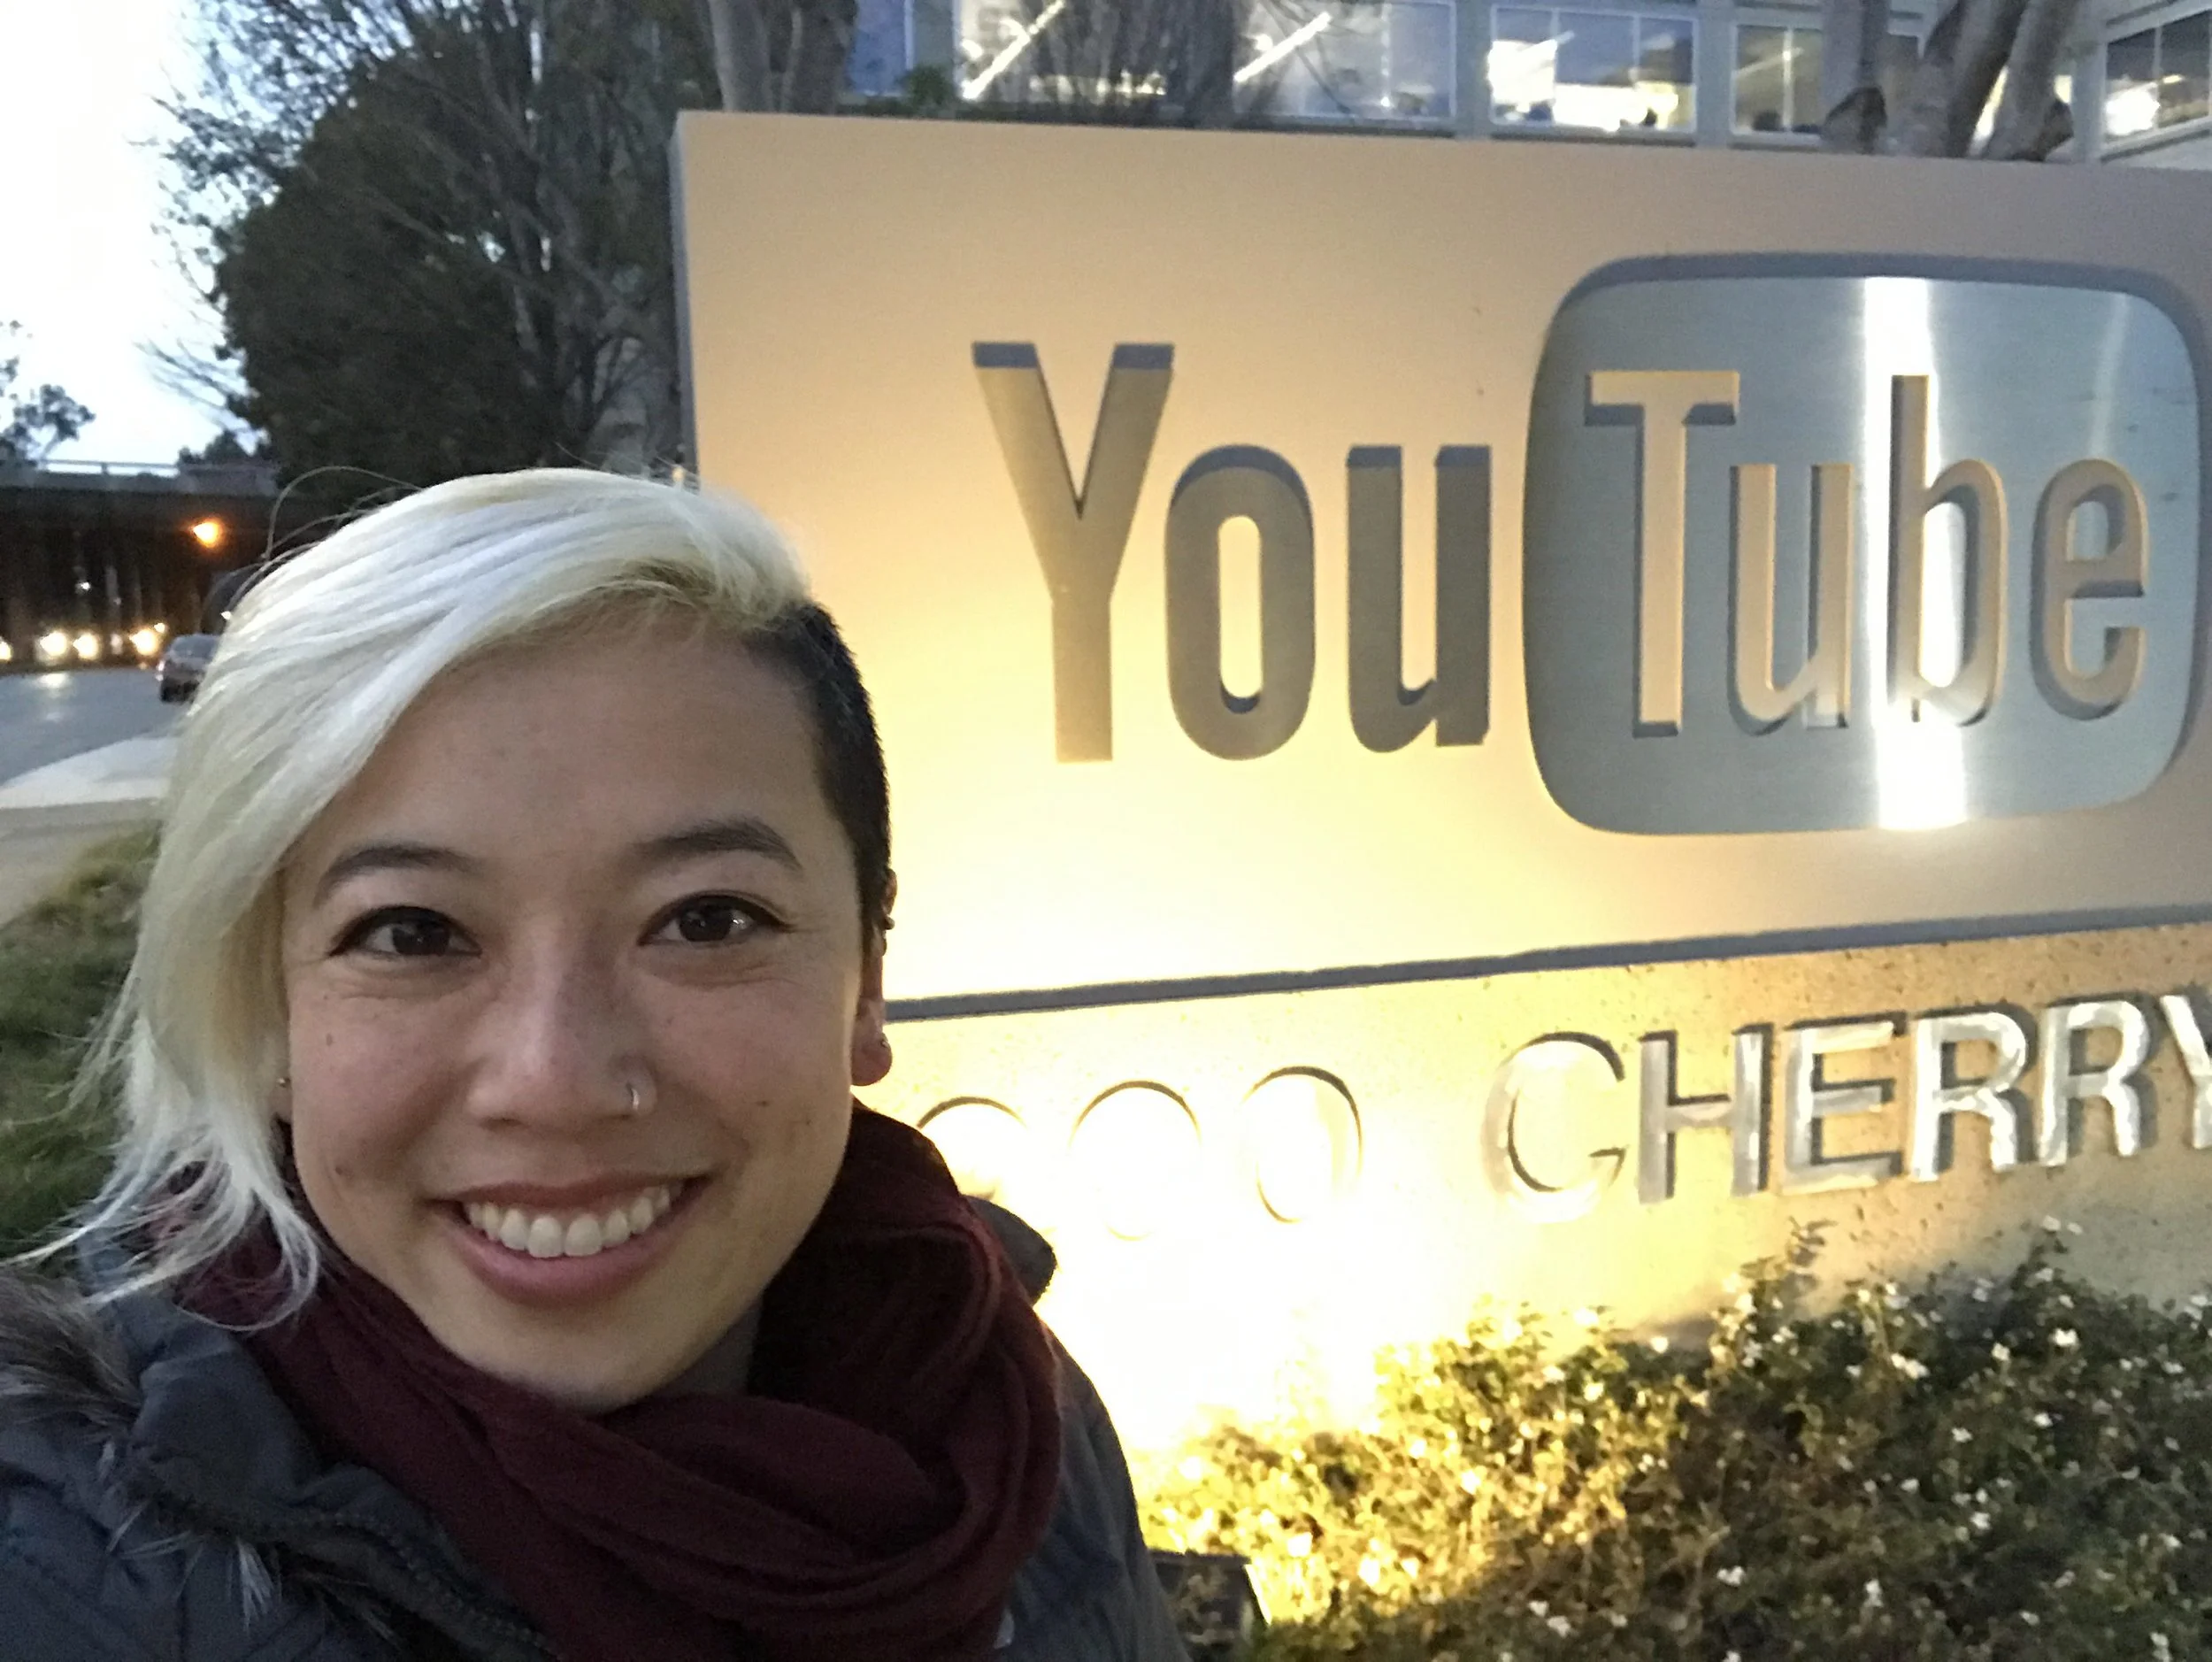
Soon after the launch of the Tilt Brush Artist in Residence program, fellow VR artist Steve Teeps and I were asked by the Google Research and Daydream Labs team to participate in some brand spankin new technology for mixed reality! It's best if you see it here, as explained by Tom Small and Avneesh Sud:
Here's a visual breakdown of what all the different phases look like:
Green Screen Video: this is what it looks like to ppl on the outside when I'm painting in VR.
Virtual Environment: I can set the VR camera to show my painting and where I am in that space (the glowy Vive controllers), but still doesn't effectively depict what is going on.
Traditional Mixed Reality Output: this shows my VR painting and me in the shot. But the VR headset is isolating and blocks the human connection aspects of this.
Mixed Reality + Headset Removal: the Google Research team overlayed my eyes on top of the headset! You can SEE me again! :D
Here's a moving image example:
You can read all about this on Google's blog here:
For more specifics of how Avneesh Sud and Christian Frueh pulled off this magic, read all about it on the Google Research Blog here:
Headset “Removal” for Virtual and Mixed Reality
(The above images and video originated from these Google blog posts.)
Thanks so much again, Google, for asking me to help out! I had a blast with the YouTube and Research teams! A few friends have joked that Teeps and I have literally become the face of the face of VR. hahaha
Behind the Scenes!
Sharing with my 96-year-old Grandma ^-^
Even more crazy is that my dad found me in the Chinese newspaper! I didn't believe him at first, thinking he was talking about the general 'you', perhaps speaking about any VR related stuff.
Nope. That's me! This was the moment my immigrant parents finally realized that what I'm doing is actual legitimate (because the Chinese newspaper is, like, the bible, amirite?). We showed my 96 year old grandma the newspaper article. This is also the moment when she realized that I'm doing something big, too.
Grandma is the sweetest. She smiles, cackles her signature laugh, and gives me a thumbs up. And what was the first thing she has to say after seeing all this in the newspaper?
When I had the very honoring opportunity to join Tilt Brush for their Artist in Residence program, I knew I had to make something different, and that this would be one of my biggest VR pieces yet.
Designing My Problem:
I had to design something within Tilt Brush.
I wanted to create something that other people weren't doing.
I wanted to create a piece that utilizes the Tilt Brush playback feature.
I wanted to create a meaningful piece that was more than just a pretty picture; I wanted people to experience both the technology and something magical. It should be something anyone can view and understand. It needed to touch the hearts of the viewer.
Searching and Working Towards My Solution:
Everyone making pieces in Tilt Brush were making really jawdropping finished pieces. The finished pieces were the main focus of the art. I needed to do something different. I needed to create a piece that focused on the PROCESS rather than the finish. That is, the process and growth of the piece needed to be much more interesting than just viewing it as one static image.
It needed to be a narrative in some way. It didn't need to be a crazy complex thing. It just needed to show something GROW. Like a normal storytelling narrative, it needed a beginning, a middle, an end. Super basic, super fundamental for anyone to understand. No learning or backstory necessary.
It needed to feel like the piece was appearing out of thin air, it needed to be MAGIC. So I planned it out, the painting process / choreography. It needed to be seamless. It needed to LOOK effortless. It's like hiding the strings to a magic trick — I had to conceal my secret for how I did it. People WANT to believe in magic. People WANT to be dazzled and amazed. So I played on this.
Lastly, it needed a personal message. As an illustrator/image maker, I know the best ones are when I draw from my own experience. I went thru a lot of reformative changes in the last few years, a LOT of letting go, a LOT of reshaping. Yes seeing a butterfly emerge is cool to see, but it needed the personal touch to really wrap it all together to show the PURPOSE of the piece. This is the part that touches people's heart. It's not just another pretty painting — there is MEANING behind the content, the process, the message that makes it ALL beautiful in one cohesive piece.
The butterfly metamorphosis was the best process that fit ALL of these. It's simple. Everyone knows it. Everyone has gone thru changes, or they will at some point.
How Did I Paint It?
I spent several days planning out the composition, the look and feel, and how I would paint it all in order. I can't understate the amount of planning necessary.
A few trial runs followed.
Then one go at the final piece!
The Tilt Brush playback feature shows every stroke in the order of how you paint the piece. I had to paint each phase step by step — this was indeed a narrative and performative piece!
More:
My piece is also featured in the Tilt Brush showcase (in the app) and on the Tilt Brush Artist in Residence page.
You can read more about the Tilt Brush AiR program's inception here in this NYT article.
A month ago, I attended my first VR Hackathon, not knowing what to expect, nor where I would fit in.
I consider myself new to Unity.
I can draw really well.
I can dev.
And I sure as hell can learn really fast!
I teamed up with two lovely ladies, Katie Hughes and Nidhi Reddy. We teamed together, spent the first night listing out all of our ideas of what we could create in the next 48 hours. There was a competition component to the Hackathon, but honestly, we just wanted to LEARN and just head towards our goals!
With amazing camaraderie, communication, playing on our strengths, and respect for each others' process, we were able to go from knowing minimal Unity to building our first run of HoloDog!
Katie was our idea guru. She is FULL of ideas, and we were able to create a compelling reason for creating this (to be unveiled in the future)! Katie was our strategist, figuring out how the UX of the HoloDog would play out in future iterations.
Nidhi is our super amazeballs AR developer. She learned how to do the speech-integration with the HoloLens in a day, and endlessly troubleshooted the deployment and user interaction portions of development. She handled all things HoloLens.
I played the role of "time keeper" to make sure we were hitting our goals, checking in appropriately throughout the weekend, maintaining good communication with each other. I was also the "dog wrangler," handling all things pertaining to dog interactions, from the model to developing the trigger responses within Unity. I was responsible for all things related to the actual HoloDog.
Here's a little bit more about our process and how we built our beloved "Buster, the HoloDog." :)
omgwtfamidoinghalpOkay. I'm in charge of the dog.
Okay.
What does that even mean. Where do I begin. What. How do I make a virtual dog come to life. What. Halp.
Step One: Find an asset.
Step Zero: Practice being an optimistic learner. Understand the Basic Workings of 3D Animation
Well, me being my "I wanna make everything from scratch" self, I wanted to see if I could rig and animate the dog myself. Yes, in less than 24 hours. That's how optimistic I am. So I called up my 3D technical artist friend for advice on where to start. He pointed me to this Lynda.com Maya tutorial on how to rig and animate a dog.
Mmmhmm. So, 10AM on Saturday of our weekend Hackathon, I jumped into learning Maya basics (from UI to functionality), and then onto rigging. I spent a few hours fully immersing myself in learning this very crucial part about asset making.
Step One: Find an asset.
So then I realized I wouldn't have enough time (I know, I know. I can try, right??) to learn everything and also to naturally animate a quadruped. Around lunch time, I revised my plan and looked into existing dog assets on the Unity store. For the goal of having a working prototype by Sunday noon, we found this really great 3D dog pack by Nitacawo. It had sit, trot, barking, etc animations. It was perfect! We began building with our lovely beagle, Buster! :D
Step Two: Plopping Buster into Unity
Download Unity.
It's free, and almost all AR/VR things are built with Unity. It's a really critical software to learn, if you want to dev for AR/VR!You'll have to learn some of the basics of Unity. Luckily, they have documented really helpful tutorials. If you're getting started with Unity, this should help: Interface & Essentials. From there, maybe do the Roll-a-Ball tutorial to learn the game engine interface in application.
Create a New Project.
Mine is called "DogTest" hahah
Save your New Scene.
I saved it as "DogScene"
Import the Dog Pack Asset into your project.
In Unity, go to your Project window. In the "Assets" folder, create a new folder called "Models". Drop the 3D Dog Pack into the "Models" folder by dragging from your Finder/Explorer window.You can also import by going to menu Assets > Import New Asset..
Make sure you keep your 3D models in the "Models" folder to keep things organized and happy. :)
Drop in Buster!
From the Assets > Models folder, open up the DogPack. Open up one of the dog folders. I selected "Beagle" for our model HoloDog.The first thing you'll see in that folder is named "Beagle"
Drag and drop that into your Unity scene.Ta-dah! You should see your dog there now!
You should see a GameObject listed as "Beagle" in the Hierarchy window now, too.(You'll see some child-elements associated to the "Beagle" GameObject. One is called 'Beagle' and the other is called 'Bip003'. We won't be touching those, so no need to worry about those. We'll only be working with the parent "Beagle" GameObject.)Fantabulous! Time to give him some behaviors!
Step Three: Attach Behaviors / Animator Controller to Buster
Here we're going to create the different animation states for the dog, associating the animations to the states we create.
Create a new Animator Controller
In your Unity Projects window, in the Assets folder, create a new one called "Animations"Create a new Animator Controller by right clicking in your new "Animations" folder to find it in the "Create" > "Animator Controller" popup menu. You can also find it by going to your Projects tab and looking for the "Create" button.Name this "BeagleAC" and double-click on the file. You should be in the "Animator" tab now.
Associate the new Animator Controller to Buster
In your Scene window, click on Buster the dog.Do you see in the Inspector window the Component called "Animator"? There is no controller associated to the GameObject.From your Assets window, drag and drop "BeagleAC" into the Inspector > Component > Animator > Controller field. This will link the new animator controller to the GameObject.
Create the Parameters for the animations
In the "Parameters" window, look for the little plus (+) symbol. Click on it and select "Trigger". Name this trigger "Sit".Create two more triggers: "Up" and "Speak".
Drop in the "Sit" animation clip
From your Project Assets window, go to Models > DogPack > Beagle and look for the file called "Beagle@BeagleIdle".Drag and drop this into the "Animator" window.
You should see it show up, and it'll be highlighted orange. This means that it will be the default state when the game starts.Then, drop in the file called "Beagle@BeagleIdleToSit". This is the animation for a standing dog to sitting dog.
Create a Transition from IDLE --> SITRight click on the orange BeagleIdle bubble.
Select "Make Transition" and an arrow will show up.
Click on the "BeagleIdleToSit" bubble.Click on the arrow itself.
The "Conditions" window associated to the transition will be blank.
Click on the (+) button to create a new condition.
Select "Sit"
Yay! The animation part is set up and ready to go! Time to type up the trigger script so that the dog knows WHEN to Sit.
Step Four: Write the Trigger Code Behaviors
Create a New Script.
In your Inspector window, click on "Add Component" > New Script and name it "BeagleScript". Click on "Create and Add"
Open the New Script.
Double click this newly created script to open up your script editor.
Name the Animator variable and give "Sit" an id.
This first bit is to give our animator variable the name of "anim" to contain our animator object. We're also calling on the parameters strings called "Sit" and giving it an id to be used in the code.
using UnityEngine;
using System.Collections;
public class BeagleScript : MonoBehaviour {
Animator anim; //calls on "animator" variable, called "anim", to contain animator object
int sitHash = Animator.StringToHash("Sit"); //gives an id to the parameter "Sit" so it can be called upon int upHash = Animator.StringToHash("Up");
// Use this for initialization
void Start () {
anim = GetComponent (); //references the animator object called "anim"
}
// Update is called once per frame
void Update () {
if (Input.GetKeyDown (KeyCode.Space)) { //when "space" key is pressed, Trigger the animator transition parameter called "Sit"
anim.SetTrigger (sitHash);
}
}
}
Reference the Animator Object
Then, we reference "anim" to the Animator Object in the Start function.
using UnityEngine;
using System.Collections;
public class BeagleScript : MonoBehaviour {
Animator anim; //calls on "animator" variable, called "anim", to contain animator object
int sitHash = Animator.StringToHash("Sit"); //gives an id to the parameter "Sit" so it can be called upon int upHash = Animator.StringToHash("Up");
// Use this for initialization
void Start () {
anim = GetComponent (); //references the animator object called "anim"
}
// Update is called once per frame
void Update () {
if (Input.GetKeyDown (KeyCode.Space)) { //when "space" key is pressed, Trigger the animator transition parameter called "Sit"
anim.SetTrigger (sitHash);
}
}
}
Write the trigger script.
Then, we write a trigger so that when the "Space" key is pressed, the IDLE->SIT animation is triggered.
using UnityEngine;
using System.Collections;
public class BeagleScript : MonoBehaviour {
Animator anim; //calls on "animator" variable, called "anim", to contain animator object
int sitHash = Animator.StringToHash("Sit"); //gives an id to the parameter "Sit" so it can be called upon int upHash = Animator.StringToHash("Up");
// Use this for initialization
void Start () {
anim = GetComponent (); //references the animator object called "anim"
}
// Update is called once per frame
void Update () {
if (Input.GetKeyDown (KeyCode.Space)) { //when "space" key is pressed, Trigger the animator transition parameter called "Sit"
anim.SetTrigger (sitHash);
}
}
}
Save the script.
Step Five: Testing!
Return to Unity.
Press "Play" to run the game.
Press the Space key on your keyboard.
Does Buster sit??! Does it look something like THIS?!
Step Six: Pass it to Nidhi!
I repeated the above steps to associate "Up" and "Speak" and "Play Dead" to Buster. I wanted to make sure all of the script and Unity components were all in order before passing it off to Nidhi, who tackled all of the HoloLens and speech-recognizing portions of this project. Wizard! She'll be posting her portion / experience from this Hackathon soon -- I'll be sure to link to her when she has it up! :)
This is a three-part roundtable blog post with Katie and Nidhi! Read all about Katie (UX and event roundup) and Nidhi's (HoloLens development) experiences!
Our system has encountered an error. This exception has been automatically logged and reported. 5JCYSG7NMRZFTJPF92SN
During my graduating term at Art Center College of Design, I was awarded the Student Leadership Award. Thank you, students, faculty, and staff! Which... also means I had to give a speech at my graduation. OY! This was one of my proudest moments, but also sooo nerve-racking.
I evidently made a mistake and said I was 25 when I started Art Center. I was 28. -_-.
Thank you, Ray Quirolgico, for the lovely intro. Miss you lots. :)